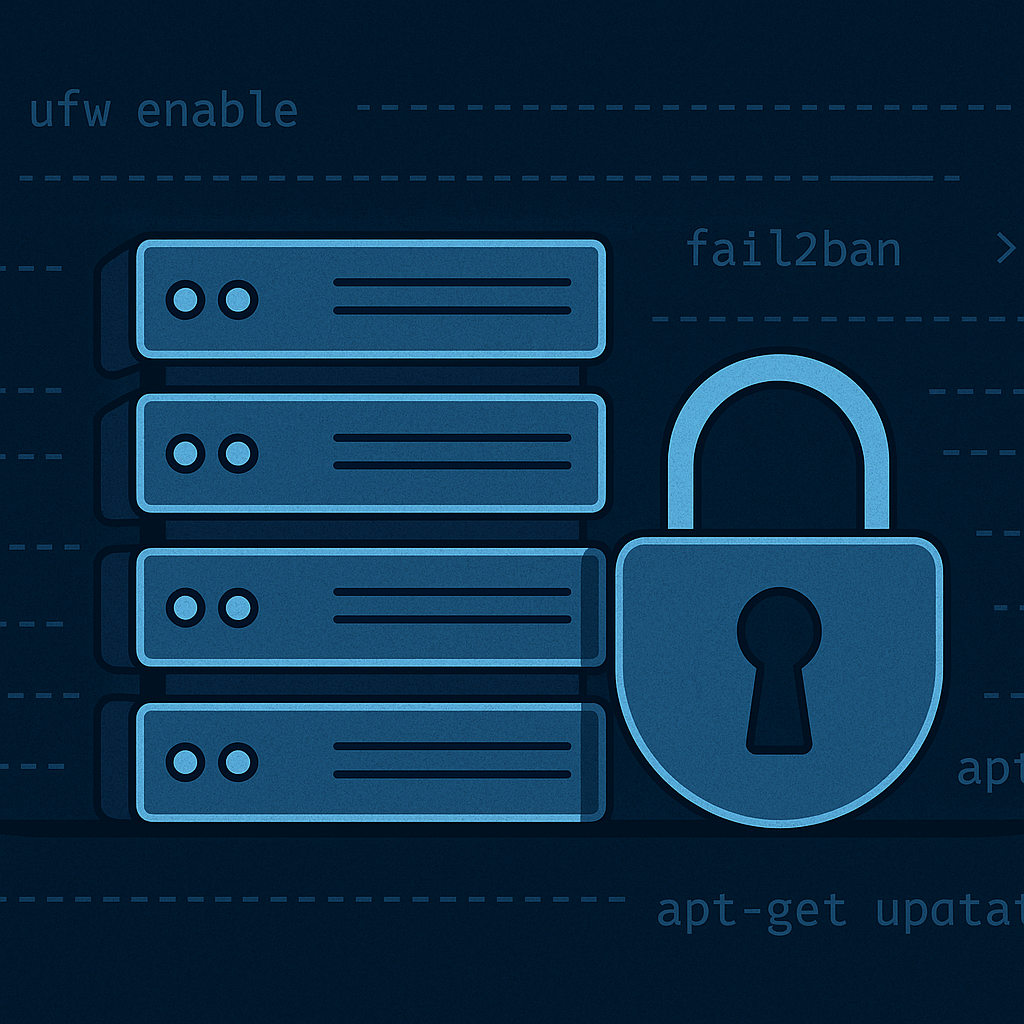
How I Hardened My Debian VPS (Without Losing My Sanity)
Spinning up a VPS is easy — making sure it’s secure? That’s where things get interesting.
I recently set up a Debian server to host a couple of static websites, and possibly a Nextcloud instance in the near future. But before exposing it to the internet, I wanted to make sure it wasn’t an open invitation for script kiddies, bots, and opportunistic attackers scanning the internet for weak spots.
Thankfully, hardening a server isn’t rocket science. Here’s the checklist I followed to lock things down and sleep a little better at night.
Step 1: Secure SSH Access Link to heading
SSH is the main entry point into most servers, so it’s the first thing that needs attention.
I started by disabling root login over SSH, since logging in as root directly is rarely necessary and creates a bigger attack surface. Instead, I use a regular user account with sudo privileges.
Next, I disabled password-based authentication entirely. This way, the server only accepts logins from clients using valid SSH keys. No password guessing allowed.
Finally, I added an extra layer of security by setting up my SSH key to require a YubiKey. This means that even if someone were to steal my private key, they wouldn’t be able to log in unless they also had physical access to my hardware key.
I also configured SSH to automatically log out idle sessions after a few minutes, which reduces risk if I ever forget to close a session.
Step 2: Lock Down the Firewall with UFW Link to heading
Firewalls are essential, even if you think you’re not running any vulnerable services. I used UFW (Uncomplicated Firewall) to create a simple policy: deny all incoming traffic except for the services I explicitly allow — in this case, SSH and web traffic (HTTP and HTTPS).
This minimizes the attack surface and blocks any attempts to connect to unused ports.
In addition to that, I added rate limiting to the SSH port. This limits repeated connection attempts from a single IP in a short timeframe, which is useful for deterring brute-force attacks. Combined with key-only login, it’s a solid second line of defense.
Step 3: Set Up Fail2Ban Link to heading
Even with the firewall and SSH key restrictions, bots and scanners constantly probe public servers. That’s where Fail2Ban comes in. It watches system logs for repeated authentication failures and bans offending IPs for a period of time.
This helps shut down automated attacks before they even have a chance to try every key in the book. I also enabled the “recidive” jail, which keeps track of repeat offenders and bans them for longer periods if they keep coming back.
It’s not just about blocking bad actors — it’s about reducing noise, keeping logs clean, and avoiding unnecessary resource usage from repeated login attempts.
Step 4: Enable Automatic Security Updates Link to heading
Keeping your server patched is one of the most important things you can do. Most successful compromises happen because of known vulnerabilities that were never patched.
To deal with this, I set up unattended-upgrades. It automatically installs security updates for system packages without my intervention. I may still log in periodically and do manual upgrades for full packages, but this ensures critical security fixes are applied quickly, even if I’m not paying close attention.
Step 5: Enable AppArmor Link to heading
AppArmor is a Mandatory Access Control (MAC) system built into Debian. It works by enforcing per-program security policies that restrict what each process is allowed to do — such as reading files, accessing the network, or modifying configuration files.
By default, most Linux processes can do almost anything the user running them can do. With AppArmor enabled, you can apply strict profiles that prevent common privilege escalation techniques or limit the impact of a compromised service.
It’s not a silver bullet, but it adds another layer of defense in depth, especially against zero-day vulnerabilities in exposed services.
Step 6: Monitor for Suspicious Activity Link to heading
Even with all of the above in place, it’s important to keep an eye on the system. Monitoring and logging won’t stop an attack, but they can alert you to one — and that’s just as critical.
I installed chkrootkit to periodically scan for known rootkits. These tools can detect if something malicious has already made it onto the system, though they aren’t foolproof. Think of it as a basic integrity check.
I also installed logwatch, which summarizes system logs and emails me a daily report. If something unusual starts happening — a sudden spike in SSH login attempts, an unexpected service starting, or a package being removed — I’ll know about it. It’s a simple way to stay informed without having to log in and check everything manually every day.
Step 7: Start Thinking About Backups Link to heading
Now that the server is fairly secure, it’s time to think about data resilience. Backups aren’t optional — they’re your only safety net if something goes wrong, whether from a hardware failure, a bad update, or a compromise.
I plan to use rsync to copy critical data (like web content and configuration files) to my local machine over SSH. I’ll likely encrypt the destination using LUKS or Veracrypt to keep it safe in case the backup drive is ever lost or stolen.
Here’s a basic example:
rsync -avz -e ssh /var/www/ [email protected]:/home/user/server-backups/
This can be automated with cron to run on a schedule, ensuring backups stay up-to-date without manual effort.
Final Thoughts Link to heading
Hardening your VPS doesn’t have to be complicated. Most of this setup took less than an hour, and it significantly reduces your exposure to common threats. It’s not about making your server unhackable — it’s about making it not worth the effort to try.
The next steps on my radar include exploring things like port knocking and running a VPN gateway (like WireGuard) to keep SSH closed unless I’m connected through a secure channel.
For now, this setup gives me confidence that my server can quietly do its job without drawing the wrong kind of attention.
Until next time - Keep your code clean, your ports closed, and your packets moving forward.